


Transfer learning has transformed the way artificial intelligence models are built and trained. Instead of spending weeks training deep neural networks from scratch, data scientists can now use pre-trained models that already understand the world in a general sense — models that have seen millions of images, read billions of words, or processed vast amounts of speech. By fine-tuning this “borrowed intelligence” to your specific task, you can build high-performing systems faster, with less data and fewer resources.
Whether you’re creating an image classifier, a chatbot, or a financial prediction engine, transfer learning allows you to skip the most expensive part of training — the heavy lifting — and focus only on what makes your project unique.
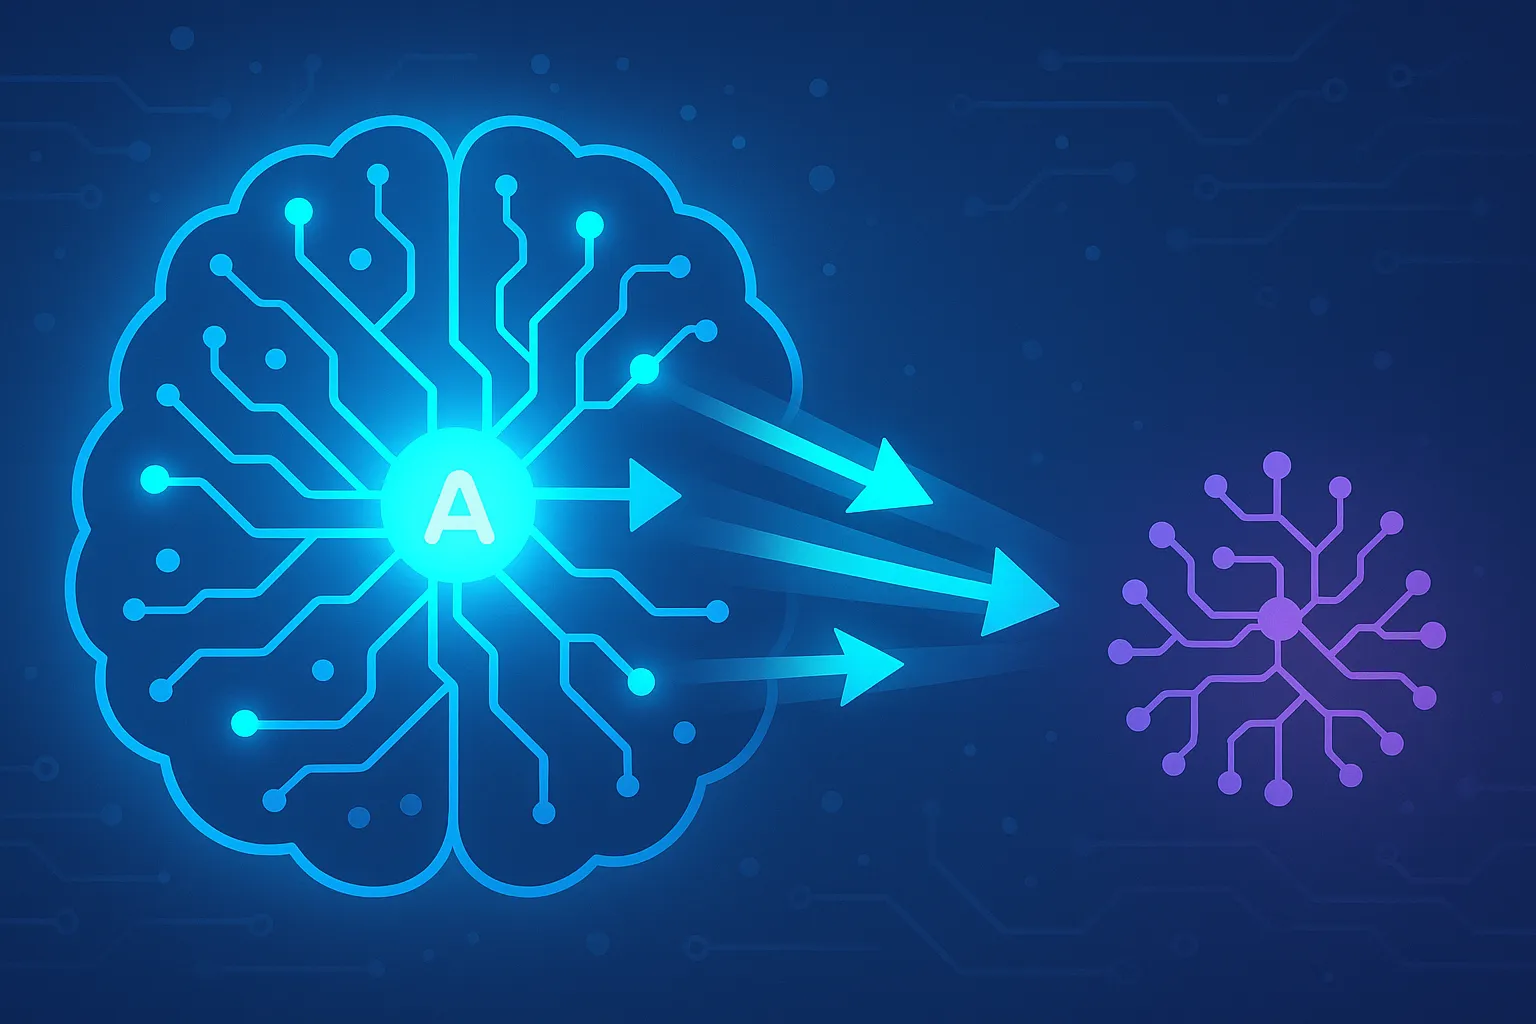
What is Transfer Learning?
Transfer learning is a technique that reuses the knowledge gained by a model trained on one large task and applies it to a related, smaller one. For example, a model trained on millions of photos of everyday objects can be adapted to recognise medical scans or product defects without starting from zero. It’s like hiring an employee who already knows 90% of the job — you just need to teach them the final details.
How It Works
There are three main stages in transfer learning:
1. Pre-training: The model is first trained on a massive, general-purpose dataset such as ImageNet for images or GPT/BERT for text. It learns universal features — shapes, edges, word structures, and patterns.
2. Feature Extraction: Instead of retraining the entire network, you reuse most of the existing layers. These act as a rich foundation of learned representations that understand general characteristics of data.
3. Fine-Tuning: You then “unfreeze” the last few layers and retrain them on your smaller, domain-specific dataset to adapt the model to your task — improving precision without massive compute costs.
Why Transfer Learning Matters
The power of transfer learning lies in efficiency. Traditional deep learning demands enormous datasets and computational budgets. Transfer learning, on the other hand, provides:
Time savings: You can cut model training time from days to hours.
Better accuracy with less data: Pre-trained models already understand common features, meaning fewer samples are needed to reach high performance.
Lower costs: You reuse the heavy computations done by research labs, leveraging their work on consumer hardware.
Flexibility: You can adapt pre-trained models across domains — from language to images, audio, or even tabular data.
Implementing Transfer Learning (Step by Step)
Let’s go through a practical example using TensorFlow and Keras for image classification. We’ll use MobileNetV2, a popular pre-trained model known for its balance between accuracy and efficiency.
Step 1: Install Dependencies
pip install tensorflow numpy matplotlib
Step 2: Prepare and Preprocess Your Dataset
Start by loading your images and applying light data augmentation to improve generalisation:
from tensorflow.keras.preprocessing.image import ImageDataGenerator

IMG_SIZE = (224, 224)
BATCH_SIZE = 32

train_dir = "path/to/train_data"
val_dir = "path/to/val_data"

train_datagen = ImageDataGenerator(
    rescale=1.0/255,
    rotation_range=20,
    width_shift_range=0.2,
    height_shift_range=0.2,
    horizontal_flip=True,
    fill_mode='nearest'
)

val_datagen = ImageDataGenerator(rescale=1.0/255)

train_data = train_datagen.flow_from_directory(
    train_dir, target_size=IMG_SIZE, batch_size=BATCH_SIZE, class_mode='categorical'
)
val_data = val_datagen.flow_from_directory(
    val_dir, target_size=IMG_SIZE, batch_size=BATCH_SIZE, class_mode='categorical'
)
Step 3: Load a Pre-Trained Model
from tensorflow.keras.applications import MobileNetV2
from tensorflow.keras.models import Model
from tensorflow.keras.layers import Dense, Flatten

base_model = MobileNetV2(weights="imagenet", include_top=False, input_shape=(224, 224, 3))
base_model.trainable = False  # Freeze early layers
Step 4: Add Custom Layers and Train
x = Flatten()(base_model.output)
x = Dense(128, activation='relu')(x)
output = Dense(10, activation='softmax')(x)
model = Model(inputs=base_model.input, outputs=output)

model.compile(optimizer='adam', loss='categorical_crossentropy', metrics=['accuracy'])
model.fit(train_data, epochs=10, validation_data=val_data)
Popular Pre-Trained Models
Depending on your field, here are some of the most widely used pre-trained models available today:
| Model | Best For | Library |
|---|---|---|
| ResNet | Image Classification | TensorFlow, PyTorch |
| BERT | Natural Language Processing | Hugging Face Transformers |
| YOLO | Object Detection | OpenCV, PyTorch |
| Whisper | Speech Recognition | OpenAI |
Best Practices
Always freeze early layers, as they contain generic representations that shouldn’t change much between tasks. Only fine-tune higher layers where the model specialises. Apply data augmentation to avoid overfitting and, when possible, use pre-trained weights from models that are close to your domain (for example, use a medical image model for radiology instead of a general one).
FAQs
- Can transfer learning work with small datasets?
Yes — it’s one of the main reasons to use it. Even with a few hundred samples, you can get strong results. - Do I need to fine-tune all layers?
No. Start by freezing all layers and fine-tune only the top ones if you see underfitting. - Can I use transfer learning for NLP or audio?
Absolutely. Models like BERT, GPT, and Whisper rely entirely on transfer learning principles. - Is transfer learning suitable for real-time systems?
Yes, lighter architectures like MobileNet or DistilBERT are perfect for real-time inference. - How do I deploy a fine-tuned model?
Use frameworks like Flask, FastAPI, or TensorFlow Serving to expose your model via an API.
Conclusion
Transfer learning isn’t just a shortcut — it’s a smarter way to build AI. By standing on the shoulders of models already trained on enormous datasets, you can create intelligent systems faster, cheaper, and with far better performance. Whether you’re classifying images, analysing text, or building voice assistants, transfer learning bridges the gap between research-grade AI and real-world applications.
Start exploring pre-trained models today — the future of efficient AI is already waiting for you.
Related Posts
- What is the difference between artificial intelligence, machine learning, and deep learning?
- Natural Language Processing: A Beginner's Guide
- Data Augmentation Techniques to Improve AI Model Generalization
- How to Build a Neural Network from Scratch in Python
- Three Increasingly Complex Ways to Model and Forecast Time Series Data