


Content Management in Lead the WAi
Most marketing tools begin with a blank text box. You open the editor, stare at the cursor, and try to think of something worth posting. Lead the WAi starts in a very different place. Instead of asking you to write content, it asks you to describe your business. From that point onward, posts behave more like work moving through a process, rather than something you have to constantly invent from scratch.
In this guide we’re going to walk through setting up content for a company from the moment they first log in, all the way to having scheduled posts visible on a calendar. By the end you should not only know which buttons to press, but also understand the rhythm the system expects you to follow.
Before creating posts, teach the system who you are
After onboarding, the first thing worth doing is not creating a post at all. Instead, open your profile from the icon in the top right corner and scroll down to integrations.
Here you connect the platforms you intend to publish to. This does not choose where posts go yet — it simply gives the system permission to post on your behalf. Think of it as connecting your accounts once so you don’t have to keep signing in later.
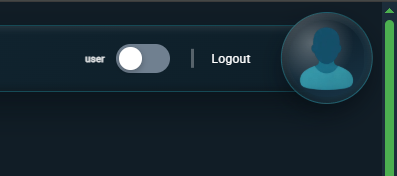
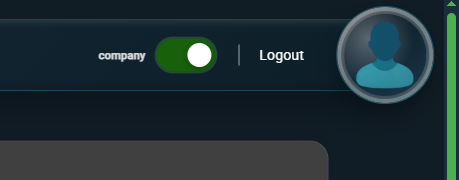
Once connected, switch the navigation toggle from User to Company.
The first section of the company profile is Company Details. Click Edit and set a description.
This is the most important step in the entire setup. The AI does not invent your brand voice — it reflects what you write here. A short sentence produces generic content. A thoughtful description produces posts that feel intentional. Many teams rush this part and later wonder why the writing sounds bland. Treat this as if you were briefing a new employee on how your company speaks, what it sells, and what it cares about.
Once this is done, you’re ready to create posts properly.
Your first post: letting the AI do the work
Open the Library and find the Post resource. Press the plus button to create a new item.
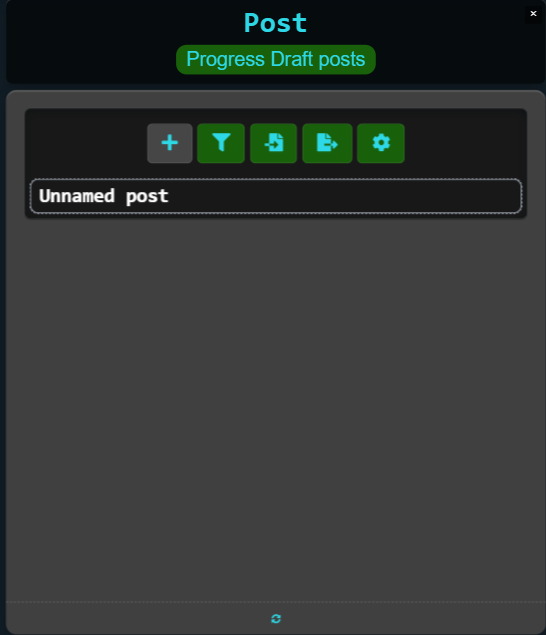
At this point nothing exists except a placeholder. Lead the WAi does not automatically generate content because the system does not know your intention yet. Instead of writing text manually, you assign the post a goal by telling the AI how far you want it to take the work.
Right-click the post and choose Assign.
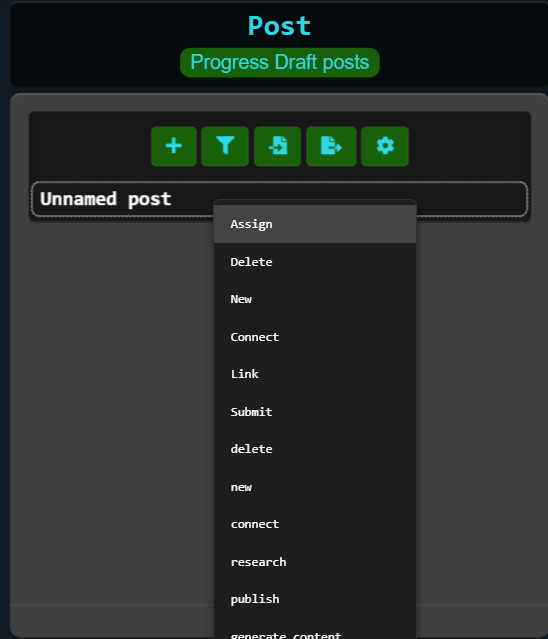
Select Chat Daemon and set the desired status to Composed.
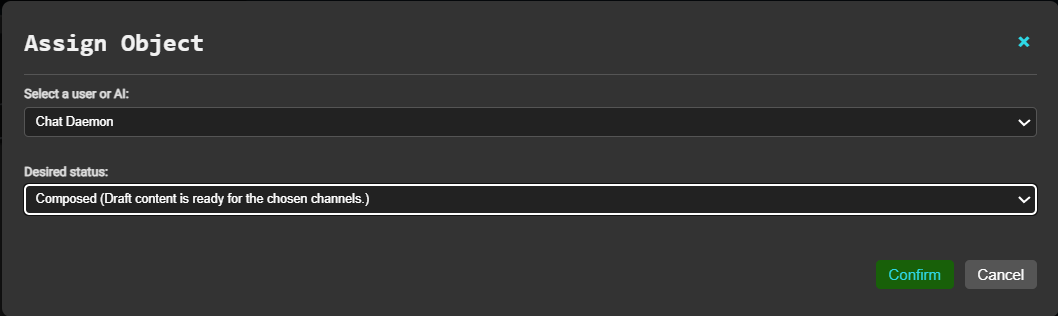
This is a key idea in Lead the WAi. You don’t assign the AI “a writing task”. You assign an outcome. When you ask for the composed stage, the AI looks for a relevant topic, writes social copy, prepares a blog-style article, and gathers media if it’s needed.
When it finishes, open the details panel by clicking the post, then Show details on the right.

You’ll find multiple outputs rather than a single block of text. The platform prepares content for different destinations at once: a short social message, a longer blog version, and optional media attachments. This is where your role shifts from creator to editor. Adjust wording, correct tone, or keep it exactly as written.
Choosing where the post actually publishes
Connecting accounts earlier allowed posting in general, but now you decide the specific destination. In the attributes section, click Show more attributes to see additional fields that have not yet been set.
In here you can choose the page(s) or site(s) by looking for attributes like facebook page id, linkedin page id, wordpress site id, and similar. This separation prevents mistakes. A team might manage five Facebook pages and three blogs — connecting once avoids logging in repeatedly, while these attributes ensure each post lands in the correct place.
With that done, the simplest possible post is complete. But managing posts one by one quickly becomes repetitive, so the real workflow begins with organisation.
Working in series instead of single posts
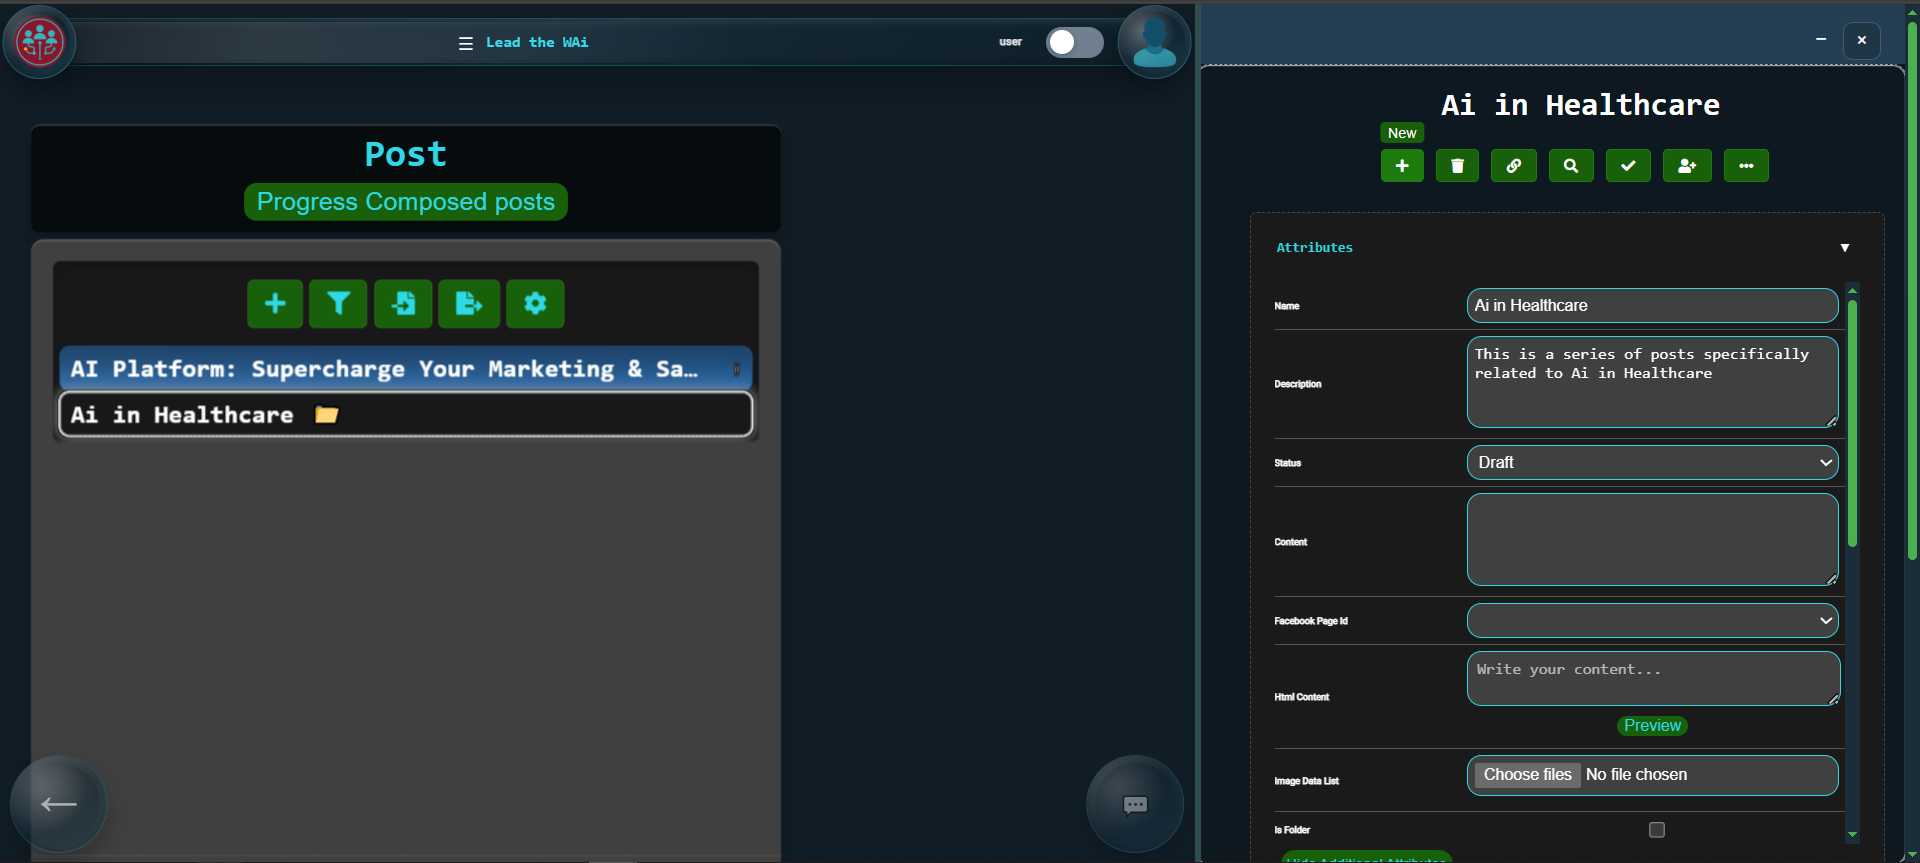
Most companies don’t publish random topics. They run themed campaigns. To reflect this, create another post and write a description such as:
"This is a series of posts related to AI in Healthcare"
After setting a description, the platform will give recommendations. It may suggest a name automatically, for example. This is useful because it quickly turns what would have been an unnamed item into something organised and easy to manage.
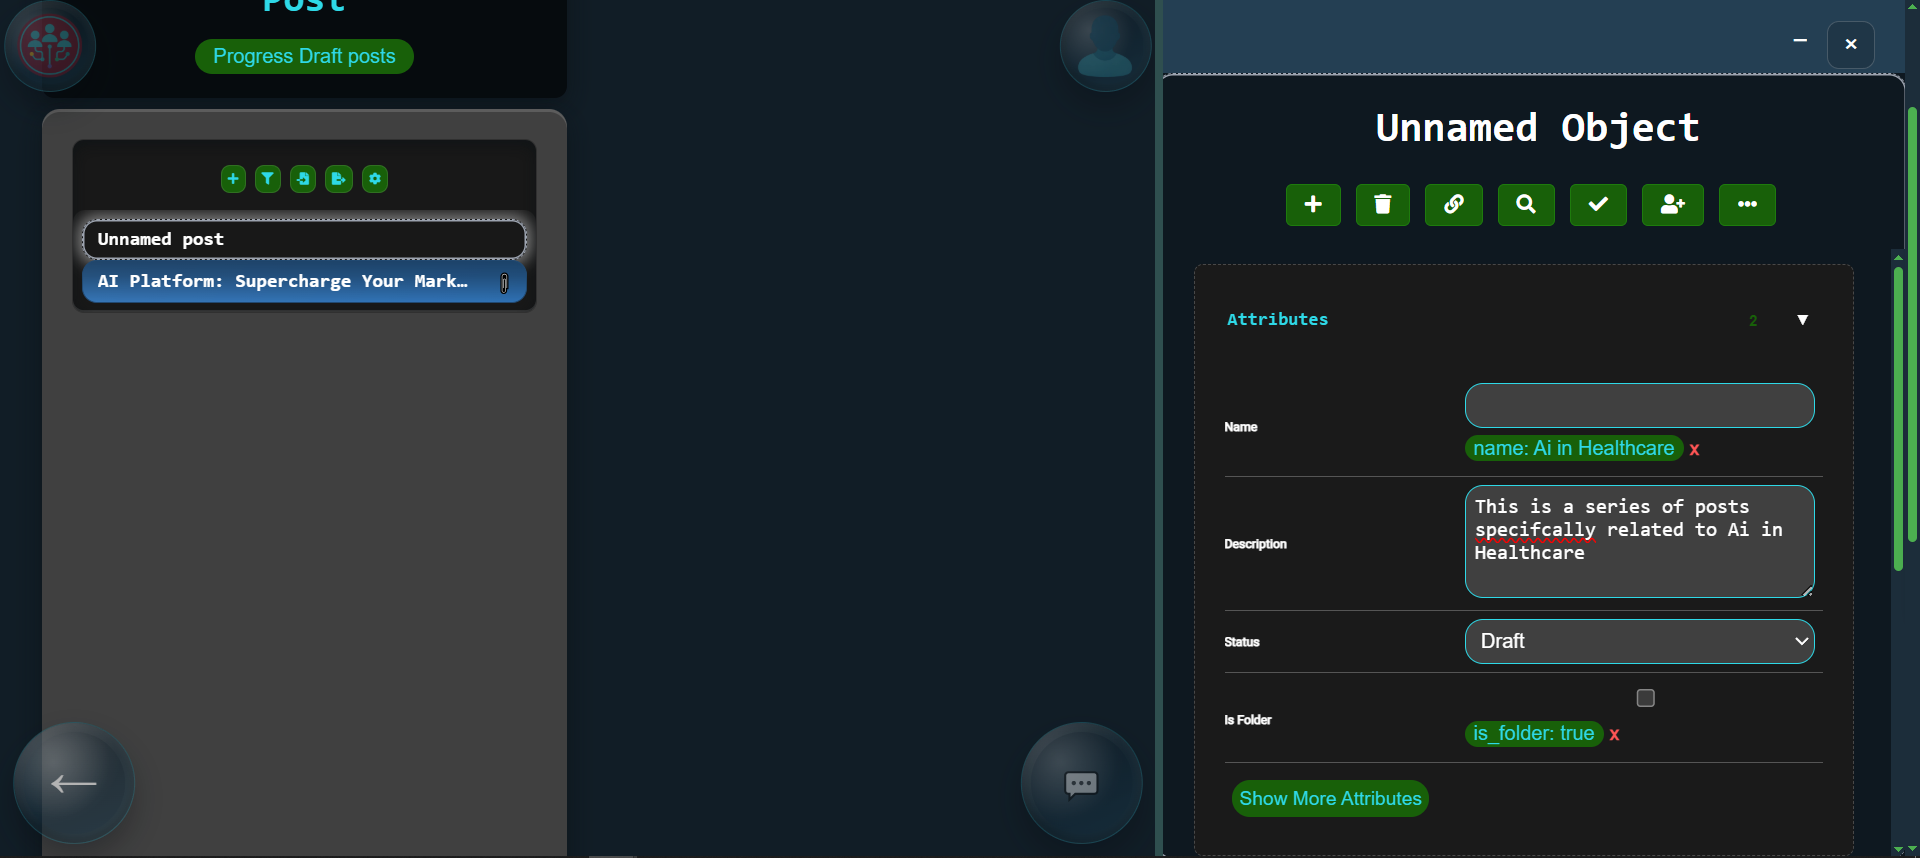
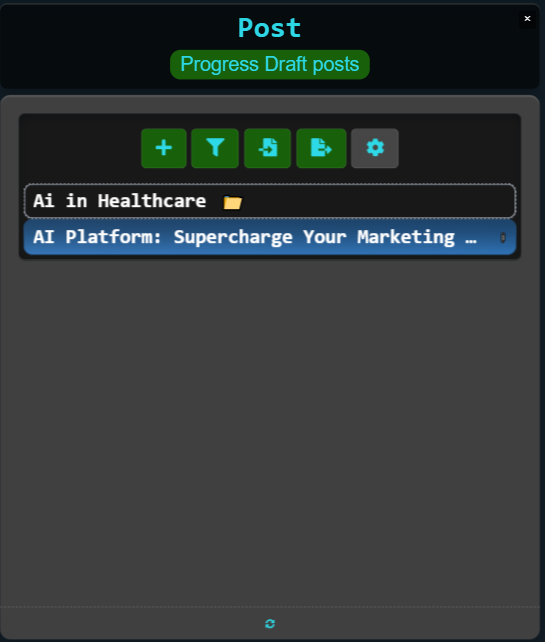
Anything placed inside this series inherits its context. The AI now understands every post belongs to one consistent theme rather than isolated ideas. Before we add posts to this series, it’s worth setting up page and site destinations properly — because we don’t want to manually pick the same page every time.
Open the settings for the Post resource.
There are two good ways to handle page and site IDs, and which one you choose depends on how many destinations you have.
If you only have one destination per channel — for example one LinkedIn page, one Facebook page, and one WordPress site — the simplest approach is to set them in Default Values. That way every post you create already has the correct IDs filled in, and you never have to think about it again.
If you have multiple destinations, defaults can become annoying because they won’t always be right. In that case, use Inheritance instead. In the inheritance settings you can tick the attributes you want inherited (such as facebook page id, linkedin page id, wordpress site id, and so on). Then you set the destinations once on the series, and every post you add to that series automatically inherits the correct page/site IDs from the series.
From writing to scheduling automatically
Now that we have either defaults or inheritance set up, add a new post inside the series and assign it to Chat Daemon again — but this time request the Scheduled stage.
Now the behaviour changes. Instead of stopping after writing, the AI completes the entire preparation process and places the post onto your publishing timeline. In other words, “Composed” is the stop-and-review stage, while “Scheduled” is ready to be published on the given date.
Using the Home page as your daily desk
Open the Home page.
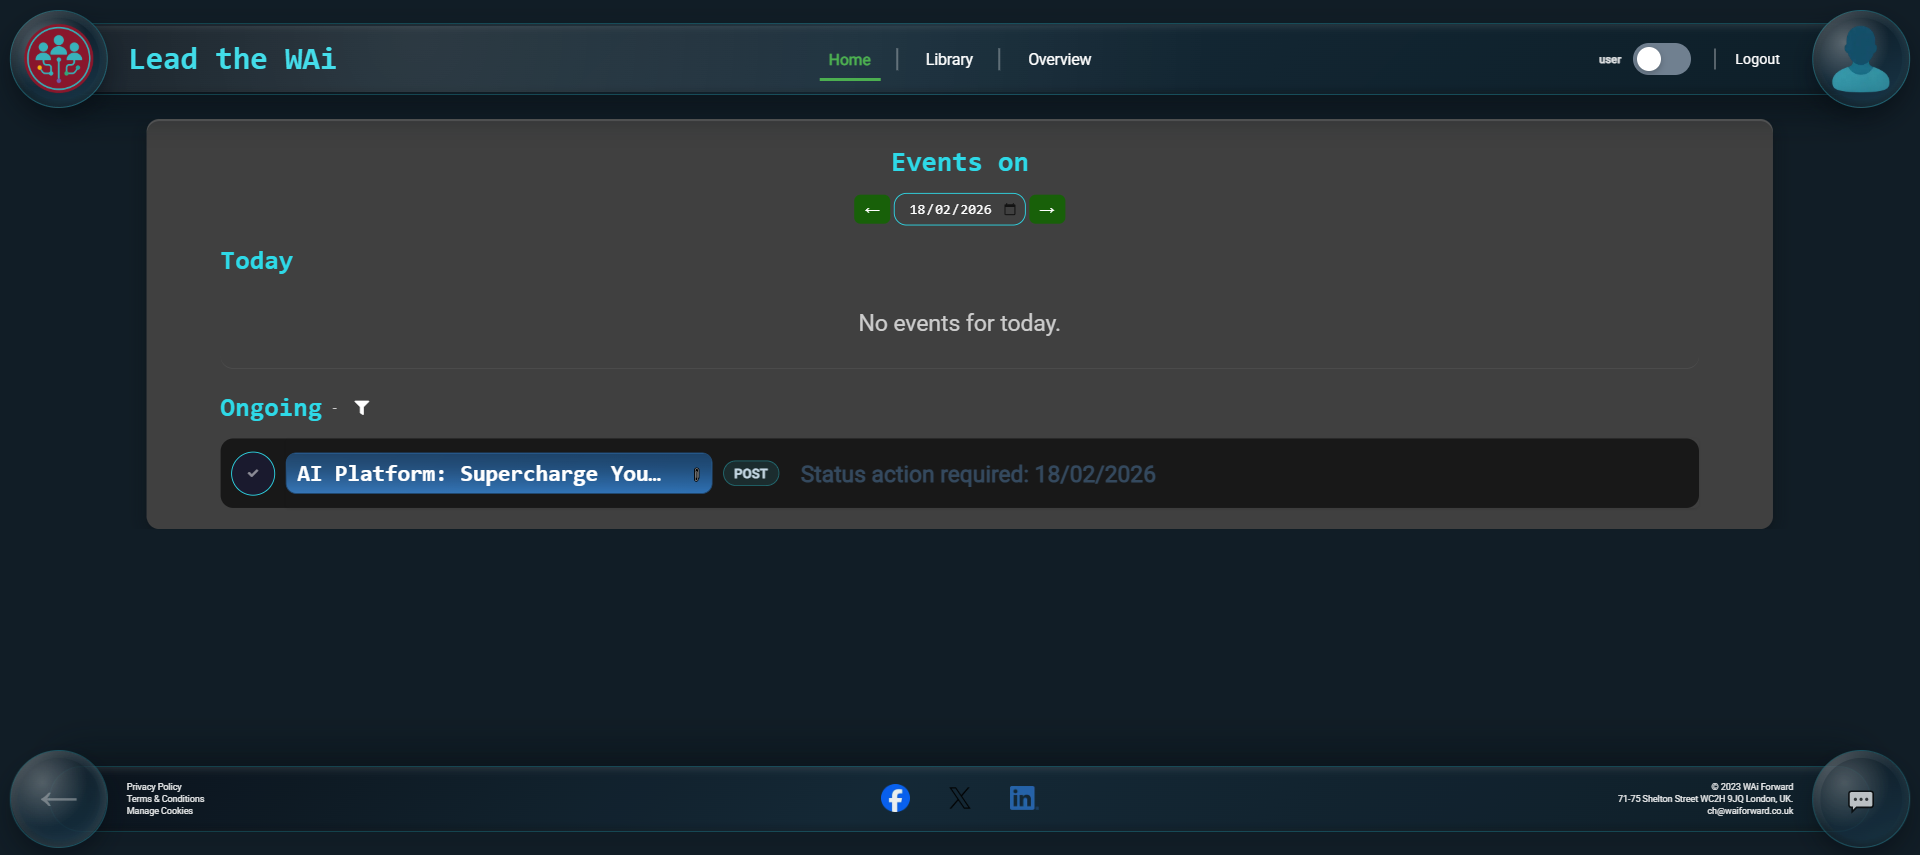
The Home page is designed to feel like a live summary of what’s happening today. When you sign in, you should immediately be able to see what needs your attention, what’s in progress, and what’s coming up. If a post appears here in a composed state, it usually means the AI has finished its work and it’s waiting for you to review and approve it.
If you open the post details and you’re happy with the output, set the status to Finalised. That’s your “approved” step — it tells the system this post is good to move forward.
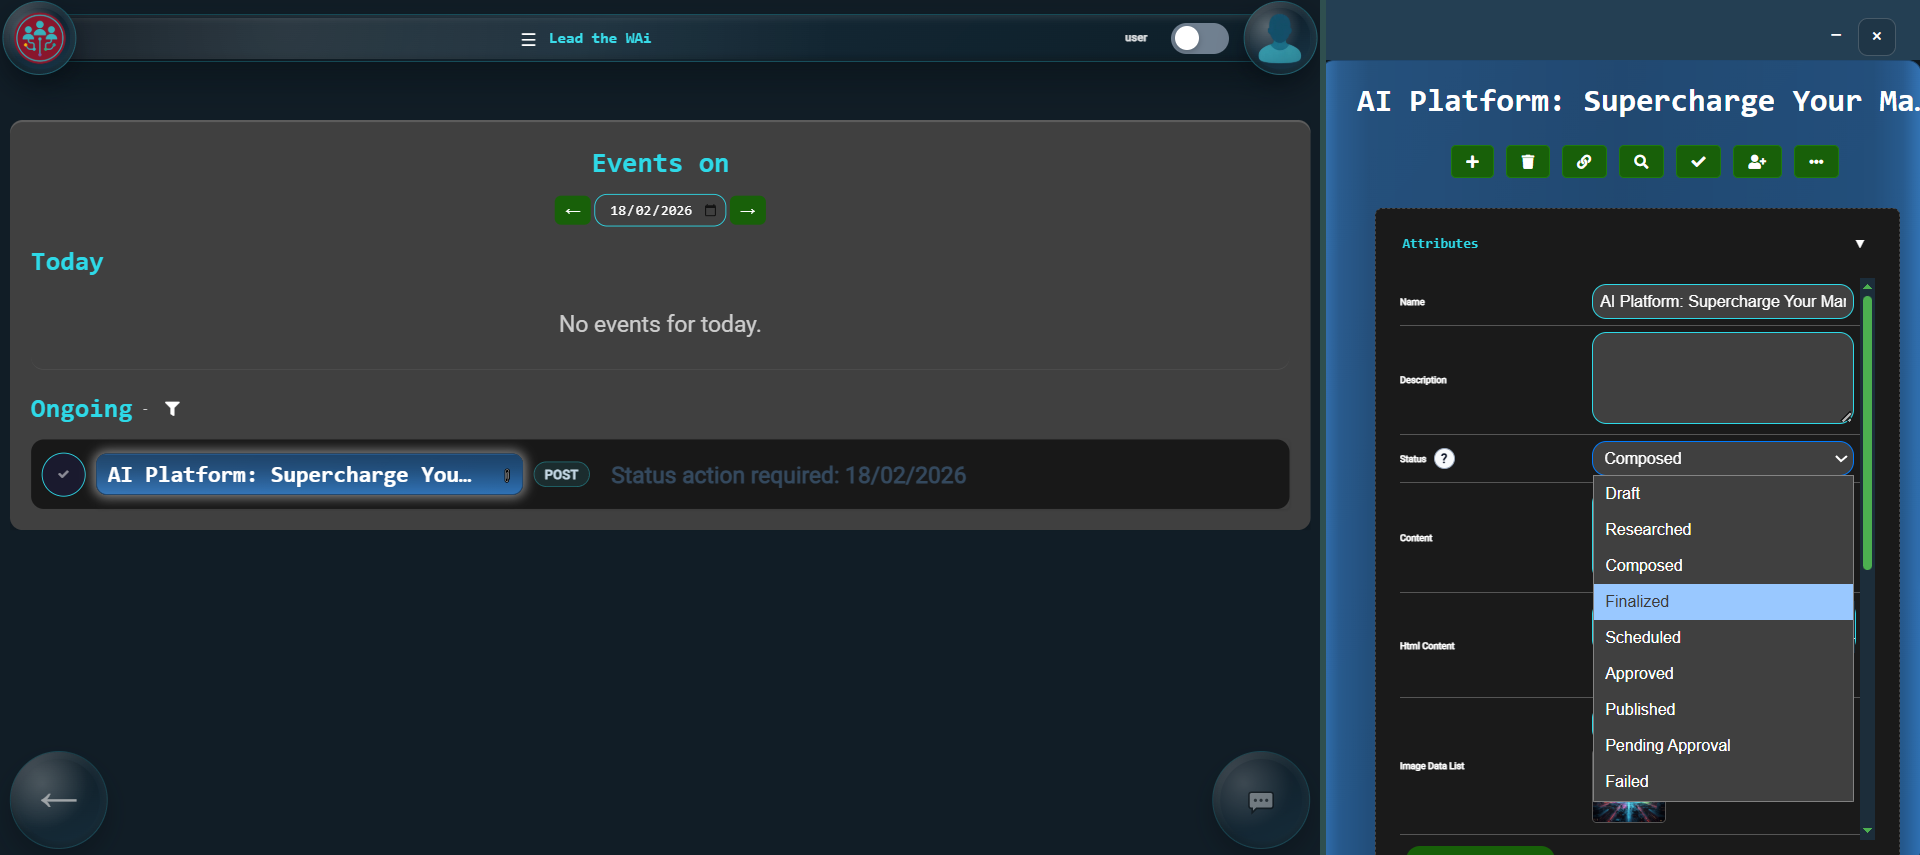
Once finalised, the post can move forward to scheduling or publishing depending on its goal.
Seeing your publishing plan visually
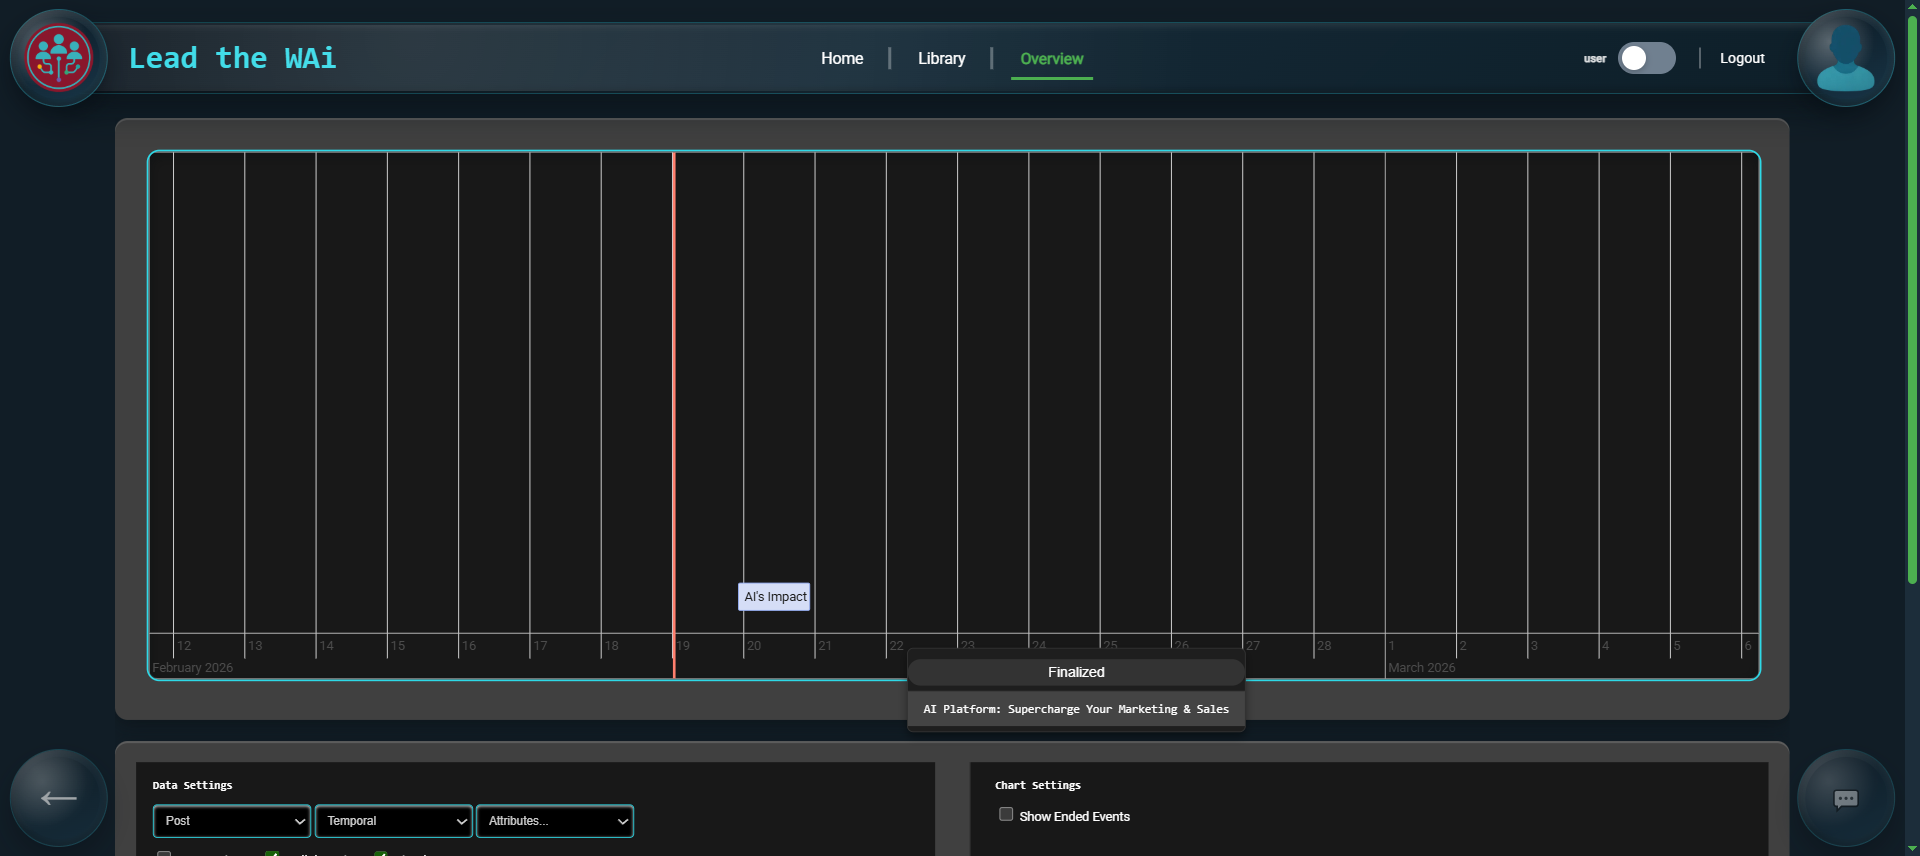
To understand upcoming content, go to Overview and set the model to Post and the chart type to Temporal.
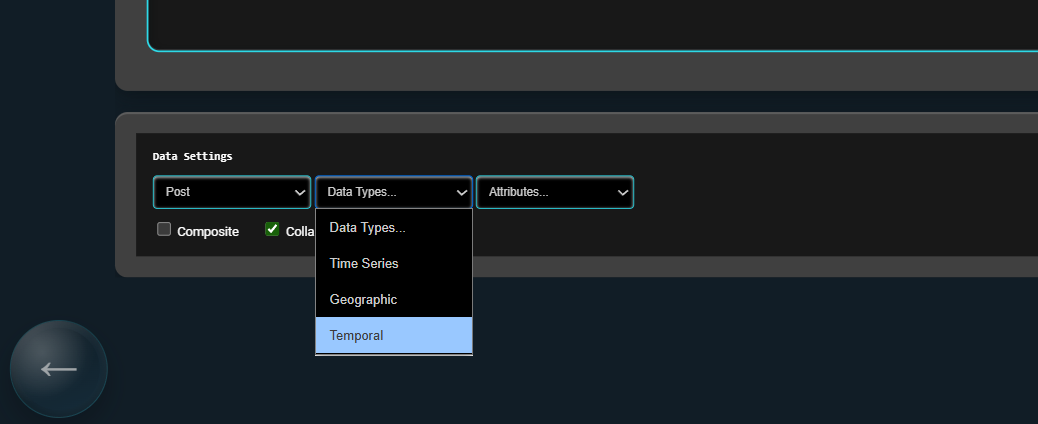
This turns your posts into a calendar. You can drag items to change dates and spread them across the timeline. Instead of remembering schedules, you simply shape the plan visually and the platform updates everything behind the scenes.
At this point you’ve moved from manually writing posts to supervising a system that generates, prepares, and schedules them.
Final thought
If anything feels confusing while you’re learning, don’t treat it like you’ve “missed a step”. Just ask for help. Use the chat bubble in the bottom right corner and tell the AI what you’re trying to do — for example “Help me schedule this post”, or “Which page is this going to publish to?”. The platform is designed so you can stay in flow and get guidance without having to leave the screen you’re on.